Revealing the Art in Artistry: Bringing Out the Damascus Pattern in Your Blade
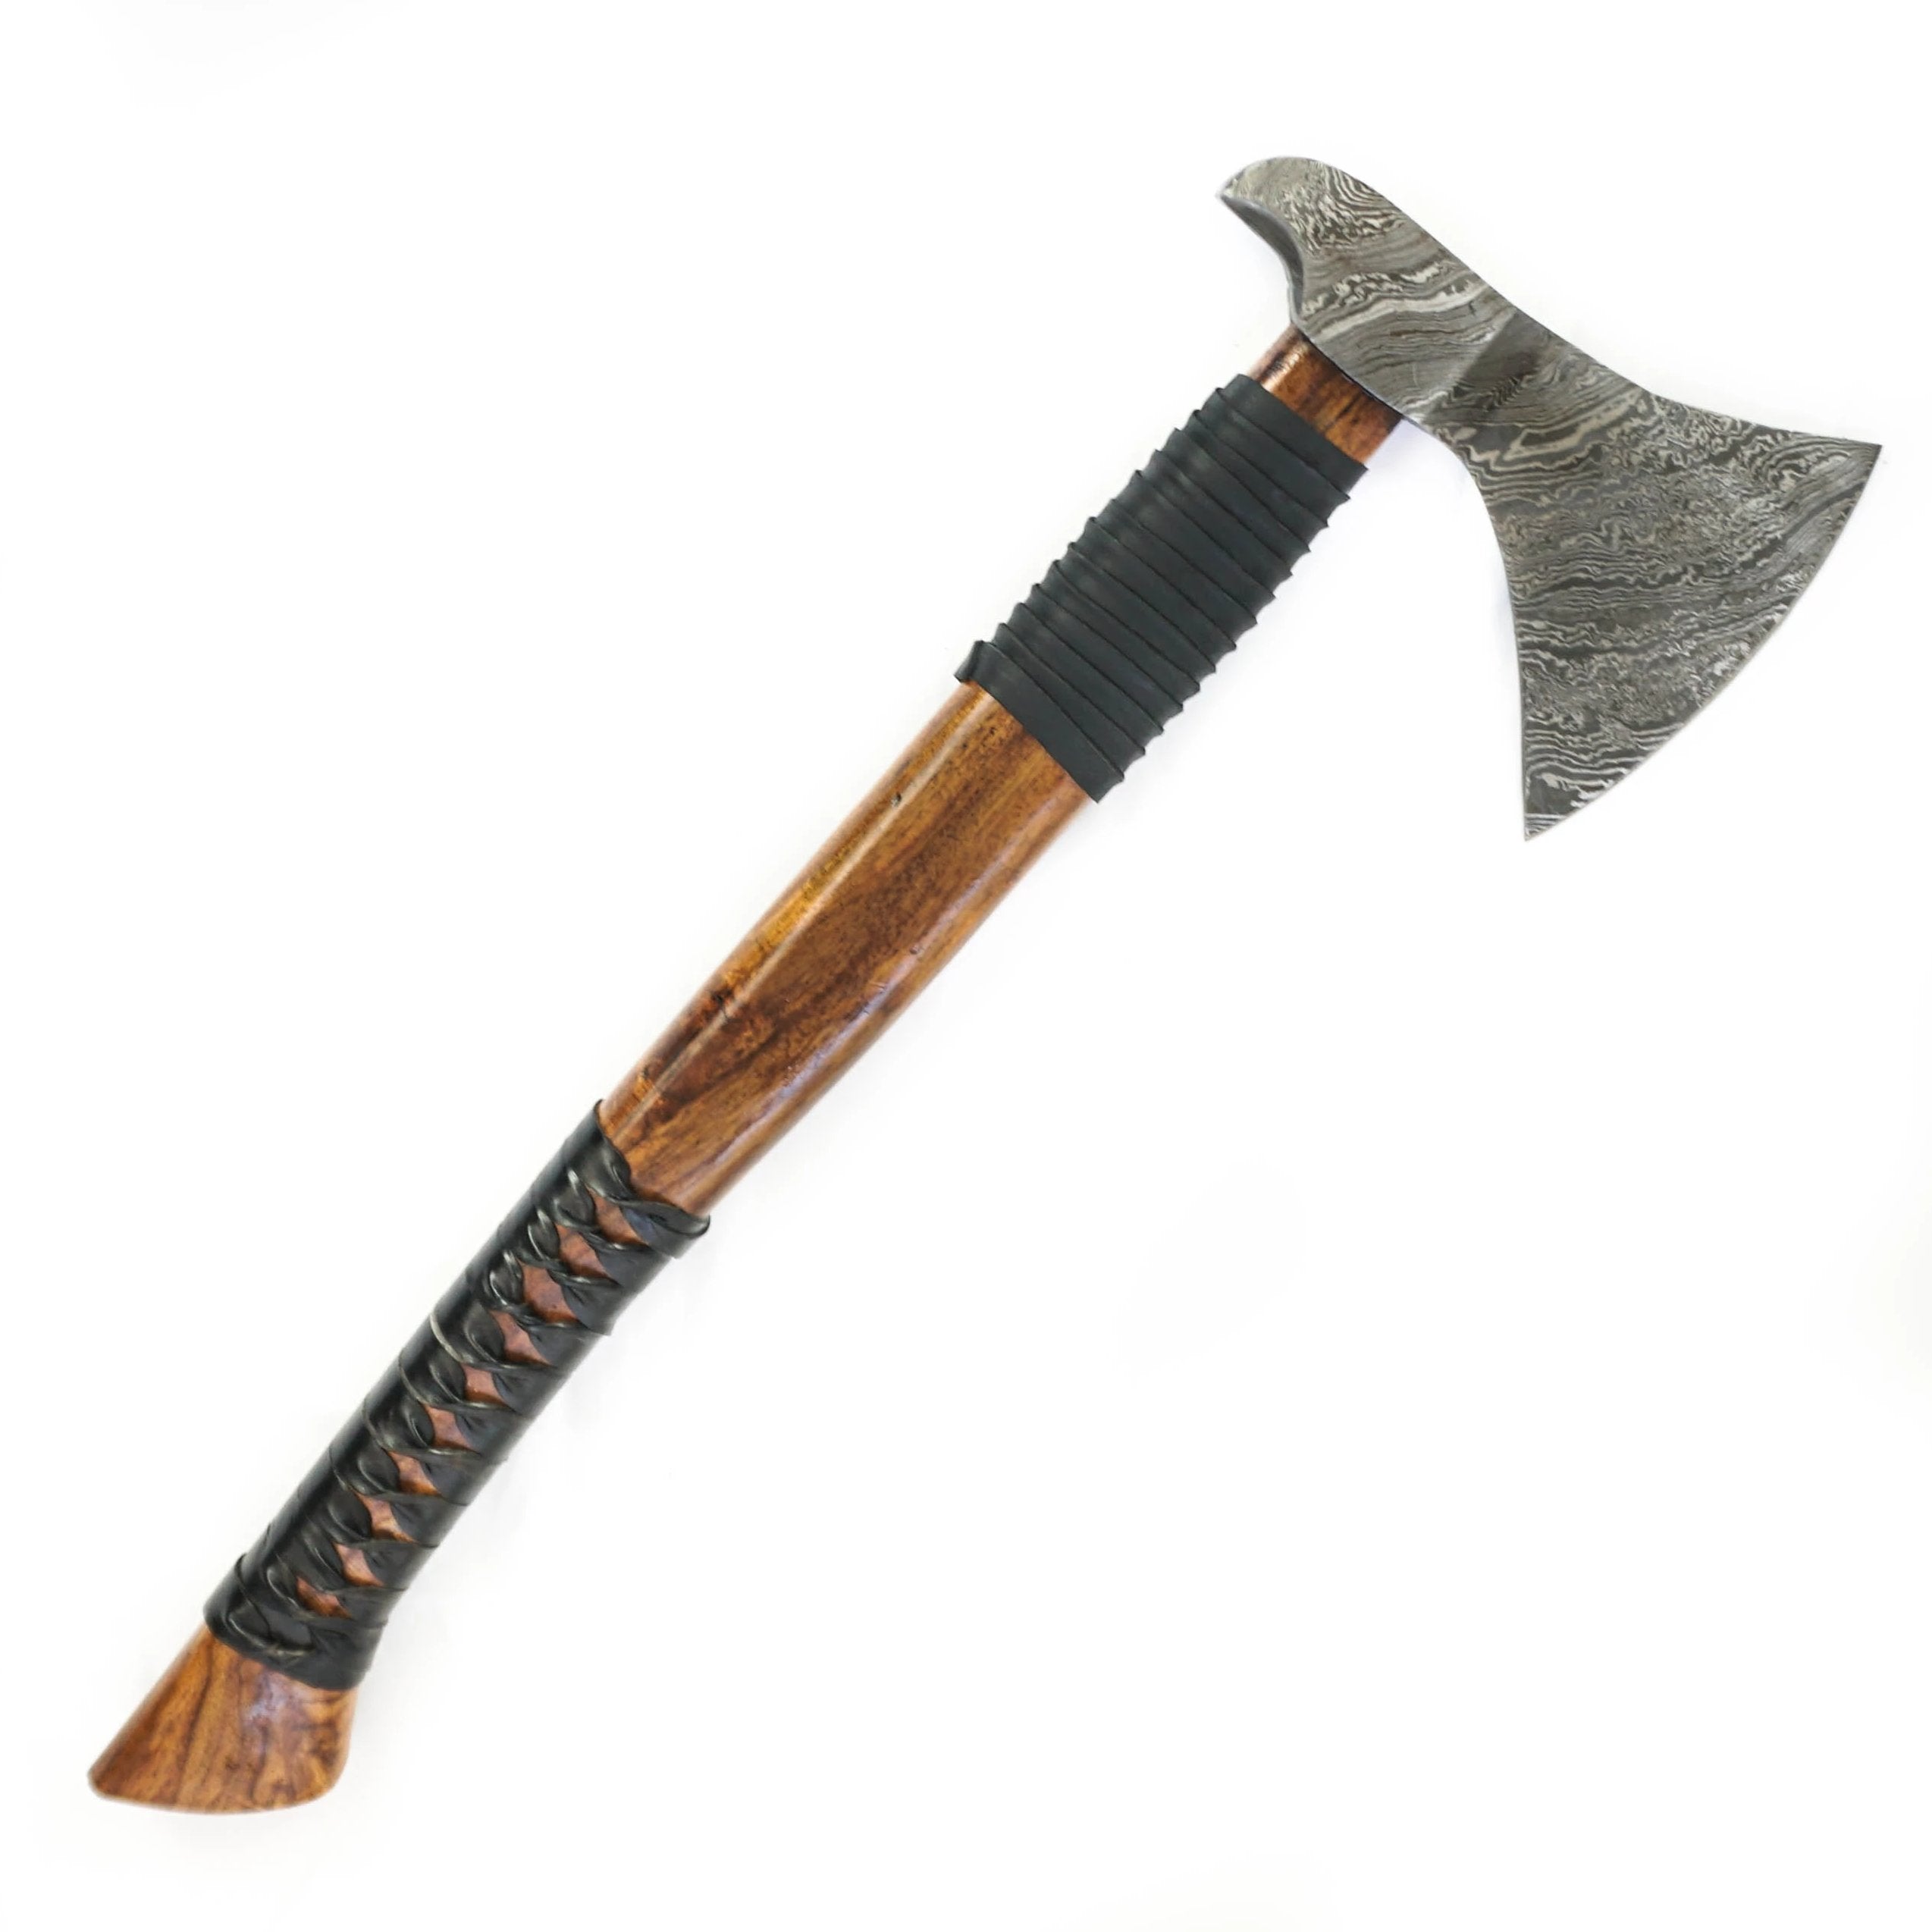
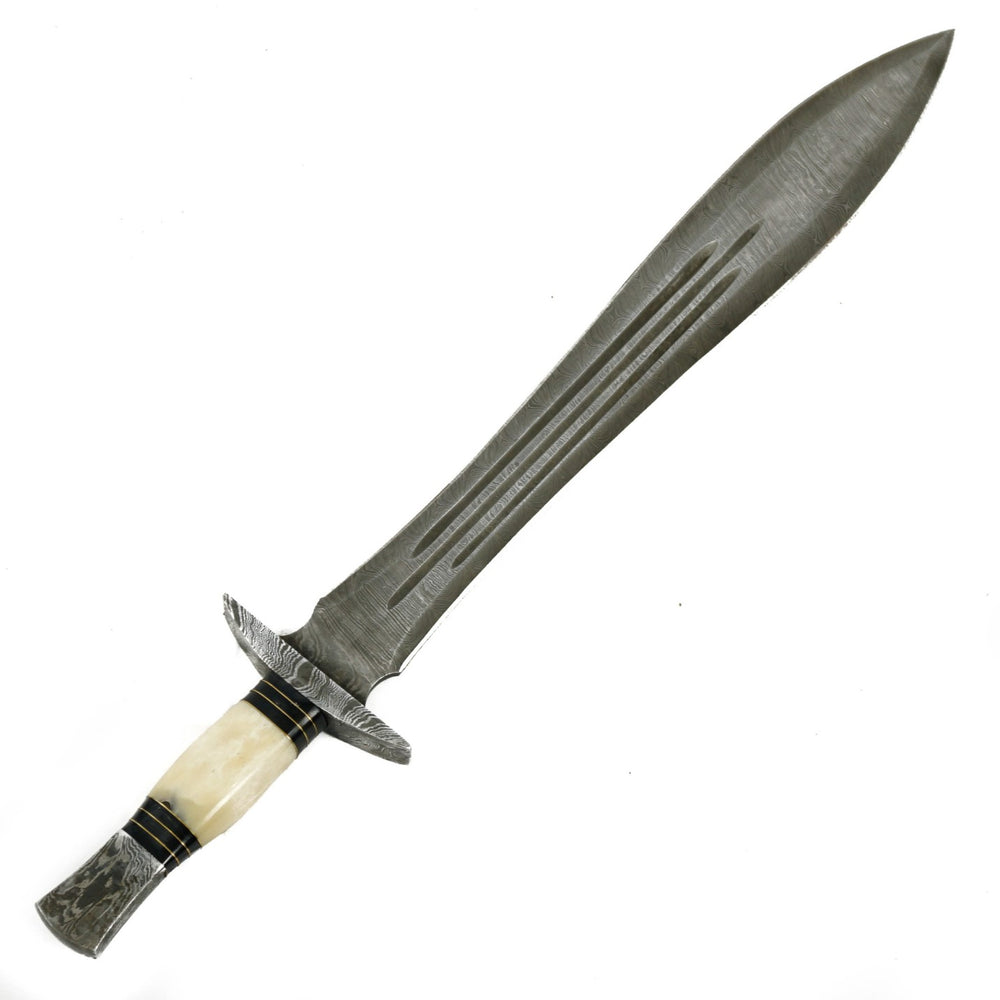
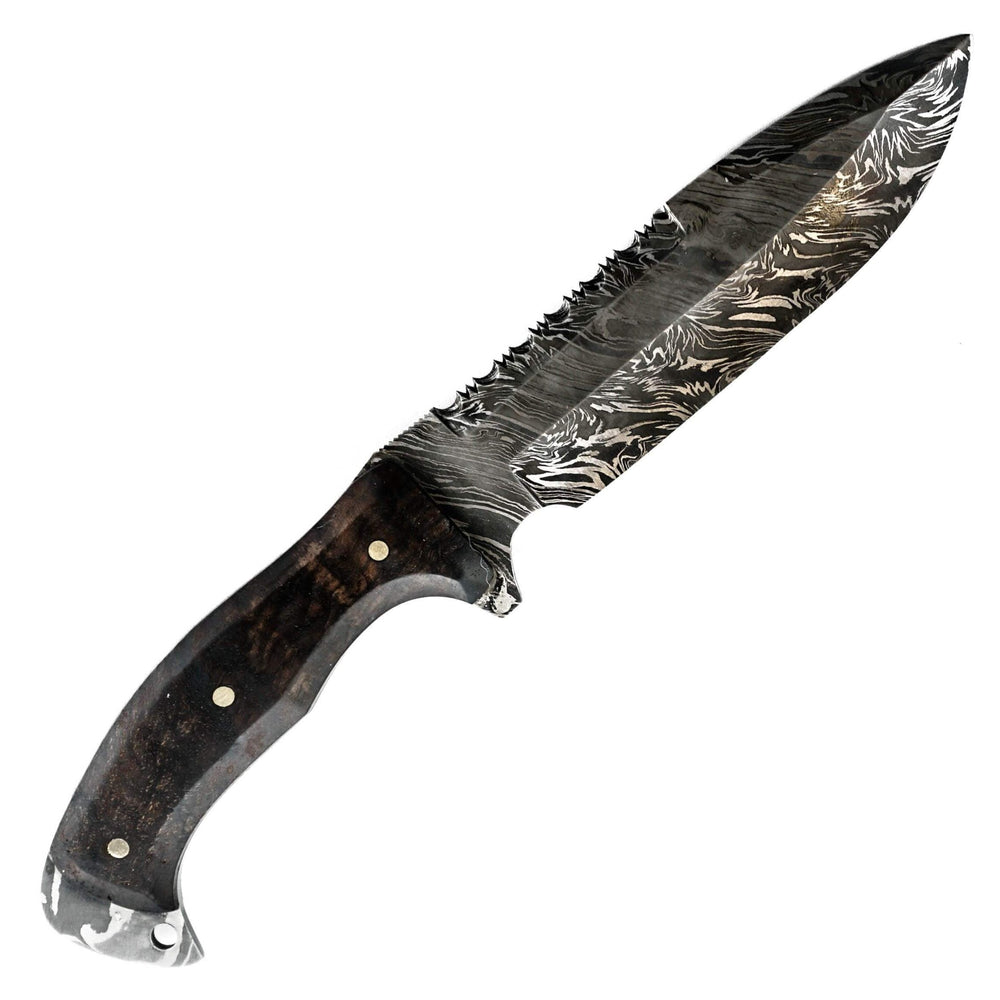
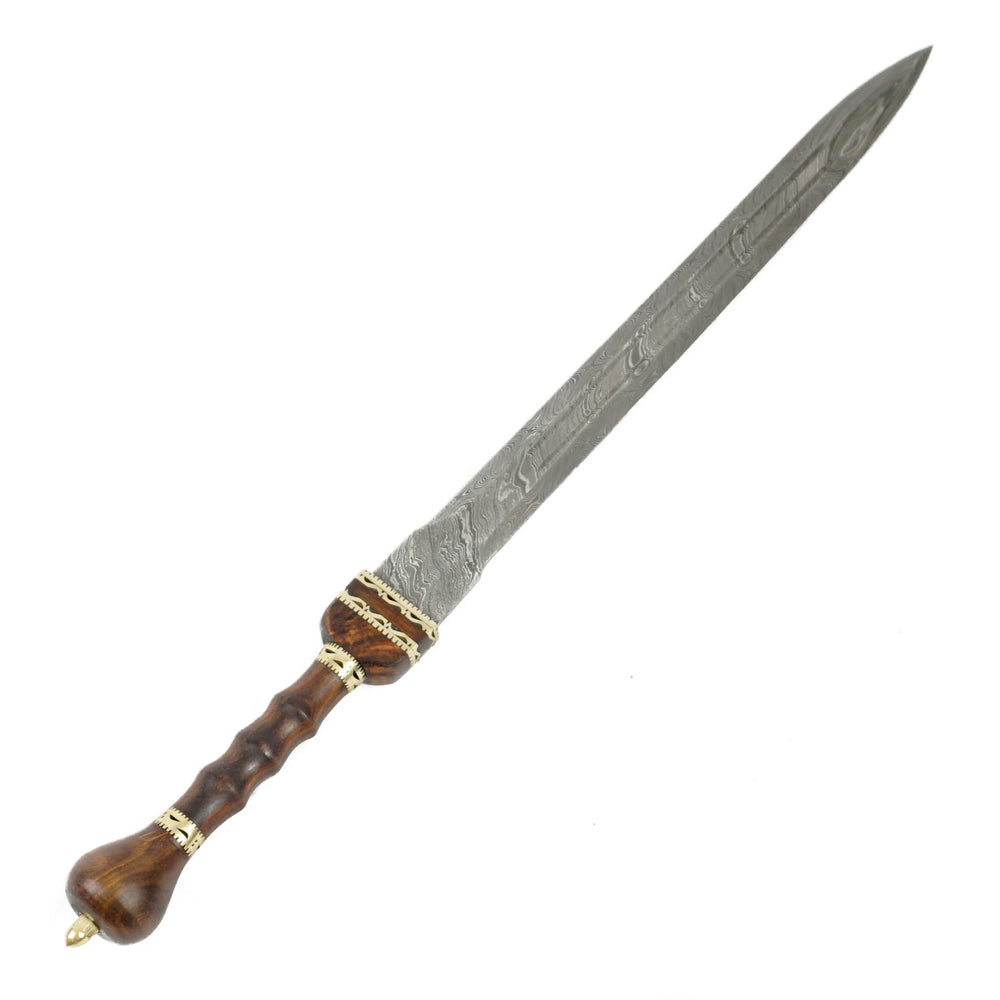
Battling Blades takes great pride in the tradition of Damascus steel craftsmanship, a time-honored technique that dates back centuries. Celebrated for its unique wavy or "watery" pattern, Damascus steel is a testament to the artistry and skill involved in swordsmithing. But what happens after your blade is forged, ground, and sanded? How can you make this distinctive pattern stand out? The answer lies in the process of etching. Today, we guide you through this remarkable technique, demonstrating how to showcase the intrinsic beauty of your Damascus blade post-sanding using Ferric Chloride or Muriatic Acid.
Essential Materials:
Before diving into this process, it's important to assemble all the materials you will need:
- Sandpaper (Start with 220 grit and progress to 600 or 800 grit)
- Ferric Chloride or Muriatic Acid
- Baking Soda
- Rubber Gloves
- Safety Glasses
- A Plastic or Glass Container for the etching solution
- Clean, lint-free cloth or paper towels
Prioritizing Safety:
At Battling Blades, we strongly emphasize the importance of safety when handling these chemicals. Always don your rubber gloves and safety glasses to protect your skin and eyes. Ensure that you're working in a well-ventilated area or outside to avoid inhaling potentially hazardous fumes.
Blade Preparation:
Dressed safely, you can now begin preparing your blade. Commence by sanding your blade with a 220 grit sandpaper and gradually work your way up to a finer grit, preferably 600 or 800. This smoothes out the surface and eliminates any scratches that might interfere with the etching process.
After sanding, give the blade a good clean with a degreaser or alcohol. This ensures it's completely free from oils or fingerprints, which can obstruct the etching process.
Preparation of the Etching Solution:
Next, prepare your etching solution. Ferric Chloride or Muriatic Acid can be used for this process. If you choose Ferric Chloride, a 3:1 or 4:1 ratio of distilled water to Ferric Chloride is suggested. If you opt for Muriatic Acid, a 50/50 mixture with water should suffice. Remember, always add the acid to water to prevent a violent reaction.
The Etching Process:
With your solution ready, it's time to uncover the hidden beauty of your blade! Submerge your blade into the solution, making sure it is completely immersed. The time you leave the blade in the solution will depend on factors like the strength of the solution, the type of steel used, and how deep you want the etching to be. This could range from just a few minutes to a couple of hours.
Neutralizing the Acid and Cleaning Up:
Once you're satisfied with the pattern that's revealed, it's crucial to neutralize the acid. A baking soda and water solution is perfect for this (1 cup of baking soda to 1 gallon of water). Immerse the blade in this mixture to halt the acid reaction.
After neutralizing the acid, rinse the blade with clean water. Dry it immediately and thoroughly to prevent any rusting.
Applying the Final Touches:
To add the final Battling Blades signature touch, lightly sand the blade one more time. Use a very fine grit sandpaper or 0000 steel wool for this step. However, take care not to sand too much, or you might erase the beautiful etching you've just achieved.
Etching is a craft, and like any other, it gets better with practice. Each blade you work on will help you refine your technique and develop an understanding of the nuances that make every Damascus pattern unique. At Battling Blades, we believe that this is the true beauty of Damascus steel: every blade is a unique work of art, with a tale all its own.
Whether you're an experienced bladesmith or a beginner stepping into the intriguing world of Damascus steel, mastering the etching process is key. By enhancing the pattern on your Damascus blade, you're not just revealing the metal's physical features; you're unveiling the saga of its creation - a saga of art, craftsmanship, and timeless tradition, the values that we at Battling Blades hold dear.

